Seat back fitting guide - low back recliner
Overview
The low back, recliner seat frame is one of the easier car seats to trim up. Most of the important pieces are held in place by clips and the foam backing keeps wrinkles to a minimum.
Download the fitting instructions here
Tools & Materials
Strong scissors or a sharp craft knife
Standard pliers
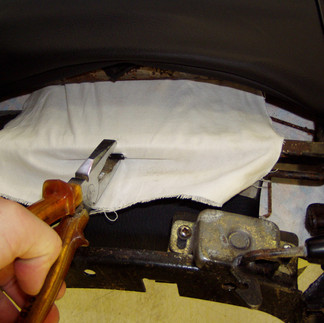
Small hammer
Good quality solvent based contact adhesive e.g. Evostik (NOT spray adhesive)
Tips
Tip 1. I prefer to strip one seat first and use the other as a guide. I start with the passenger seat so that the car is usable for longer.
Tip 2. The tubes and welds in the seat back are prone to cracking and splitting. People tend to lean sideways on the top of the seat when entering or fitting the hood, bending the frame out of shape. Any damage must be repaired before you continue.
Tip 3. The metal panels that point forward from the main back tube are easily bent. I don't worry about their position until the seat is completed.
Tip 4. The central panel of the seat back is called the flute pad. On a modern seat this would have fixings to hold it to the foam. Triumph did not do this so the flute pad can sit a little away from the foam. I try to make sure the calico and bottom panel are both tight to improve the tension in the flut pad. Some customers have glued some or all of the flute pad to the foam. If I were to do this I would first fit the cover without glue to make sure everything lines up. Then I would release the fixings on the bottom panel to allow access to the flute pad and foam. I would then apply solvent based contact adhesive onto foam and flute pad then re-fit the bottom panel. Finally, push the flute pad onto the foam using heavy books etc and leave overnight.